GIMP normal depth textures
So you have an image that you think would make a good texture, but you want to make the most of post-90s texturing technology? Well unfortunately there is a lot to that, but as a start I can at least tell you what I do. We can square up what we have, make it tileable and generate a depth map and a normal map.
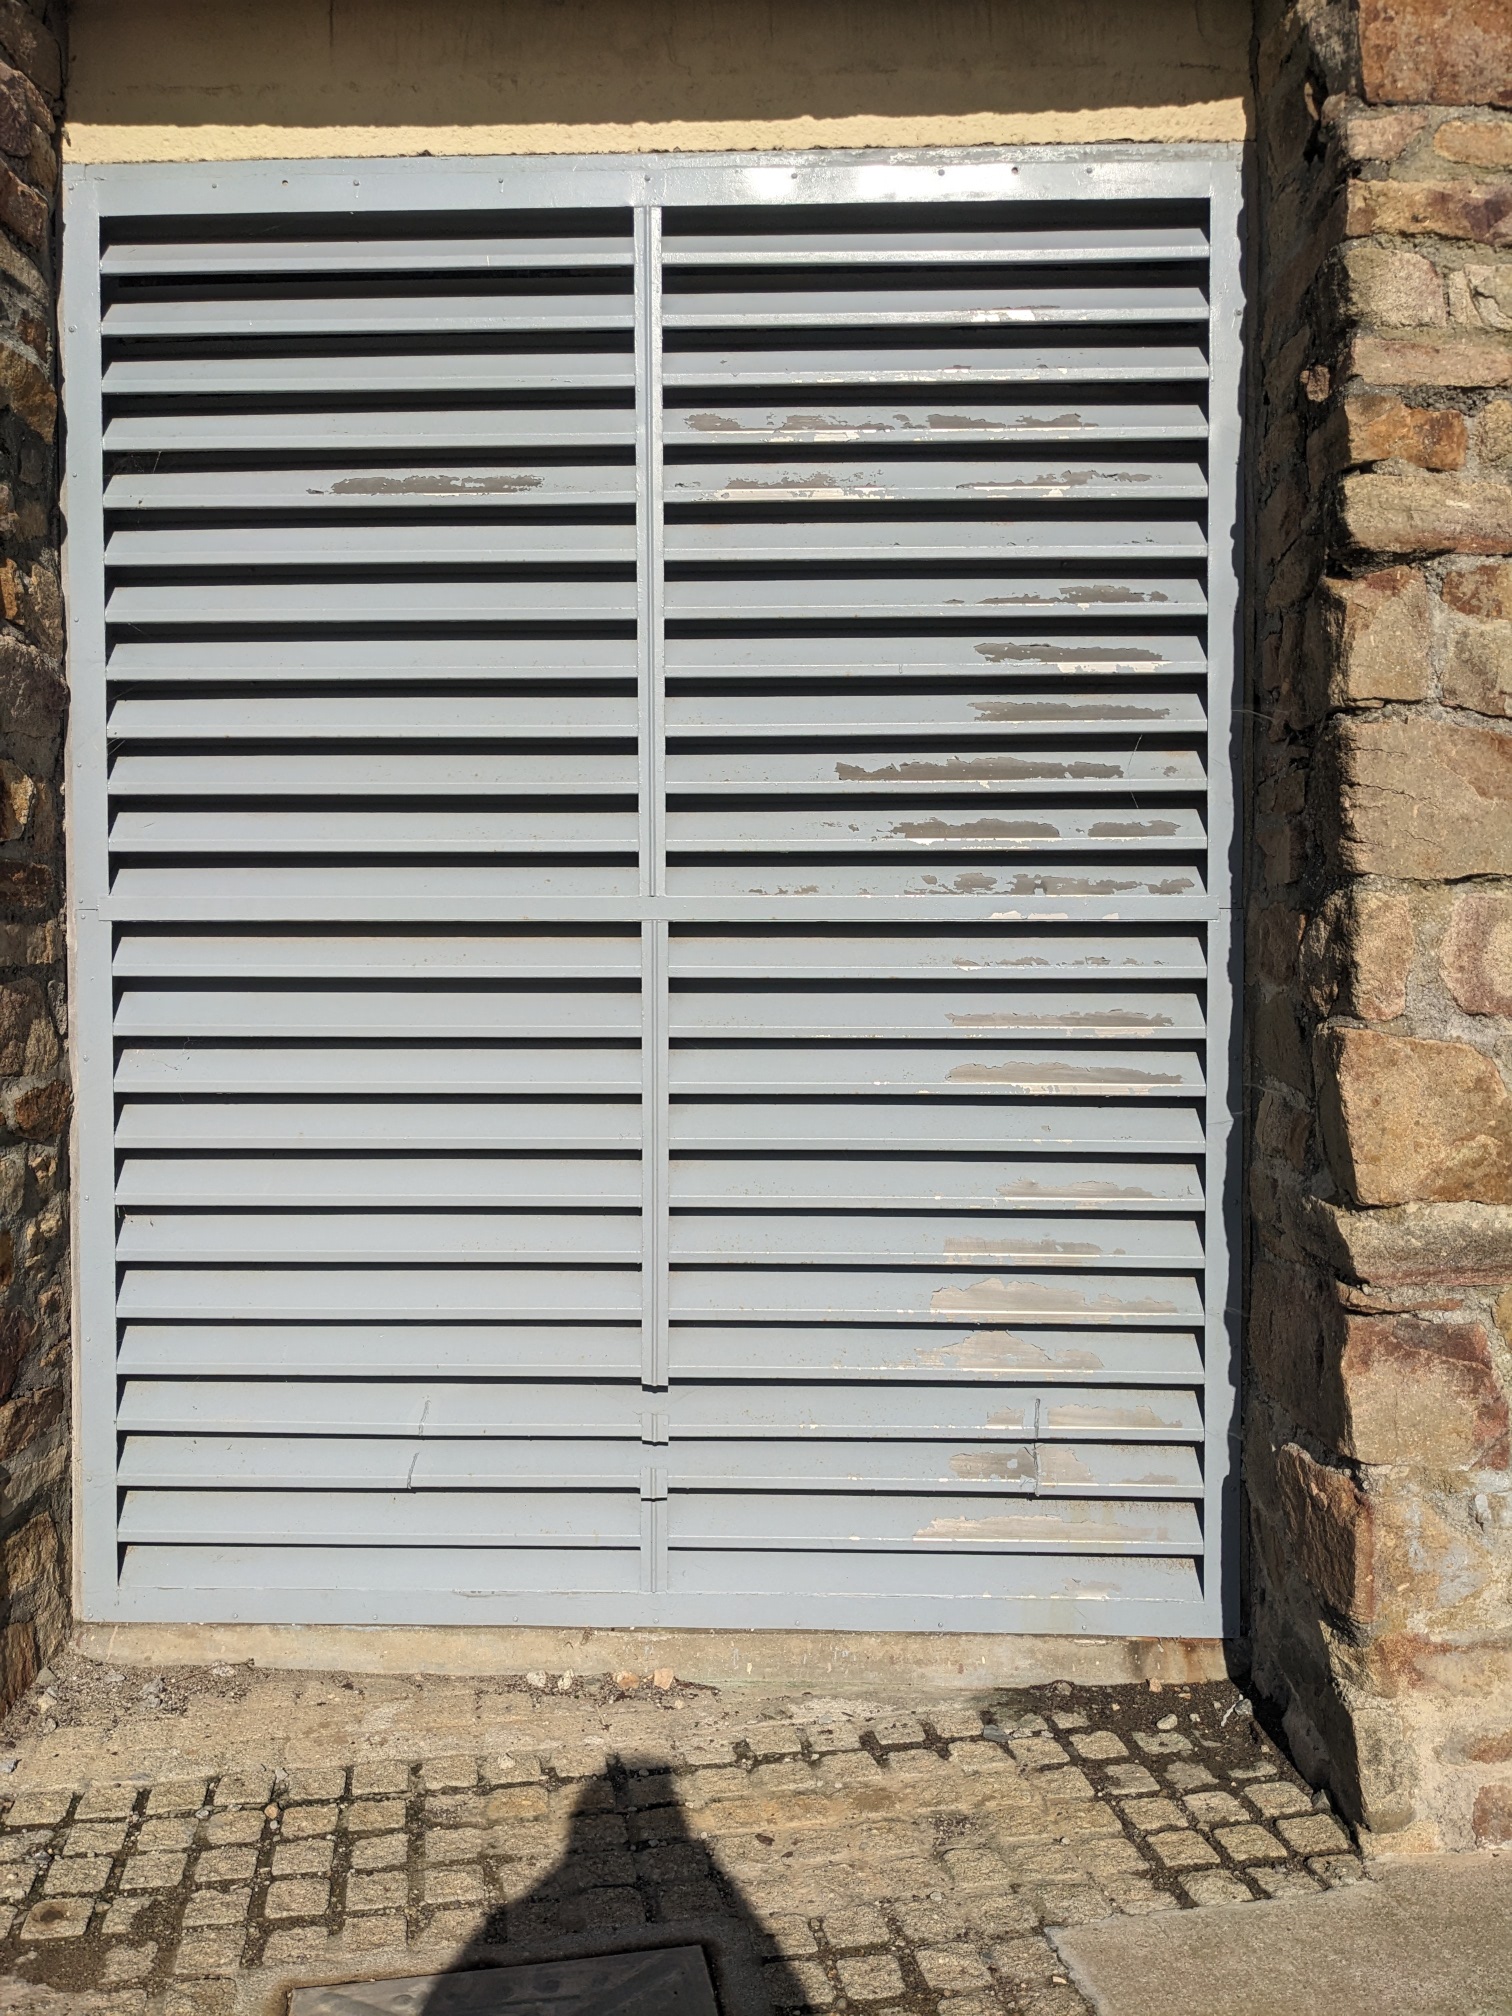
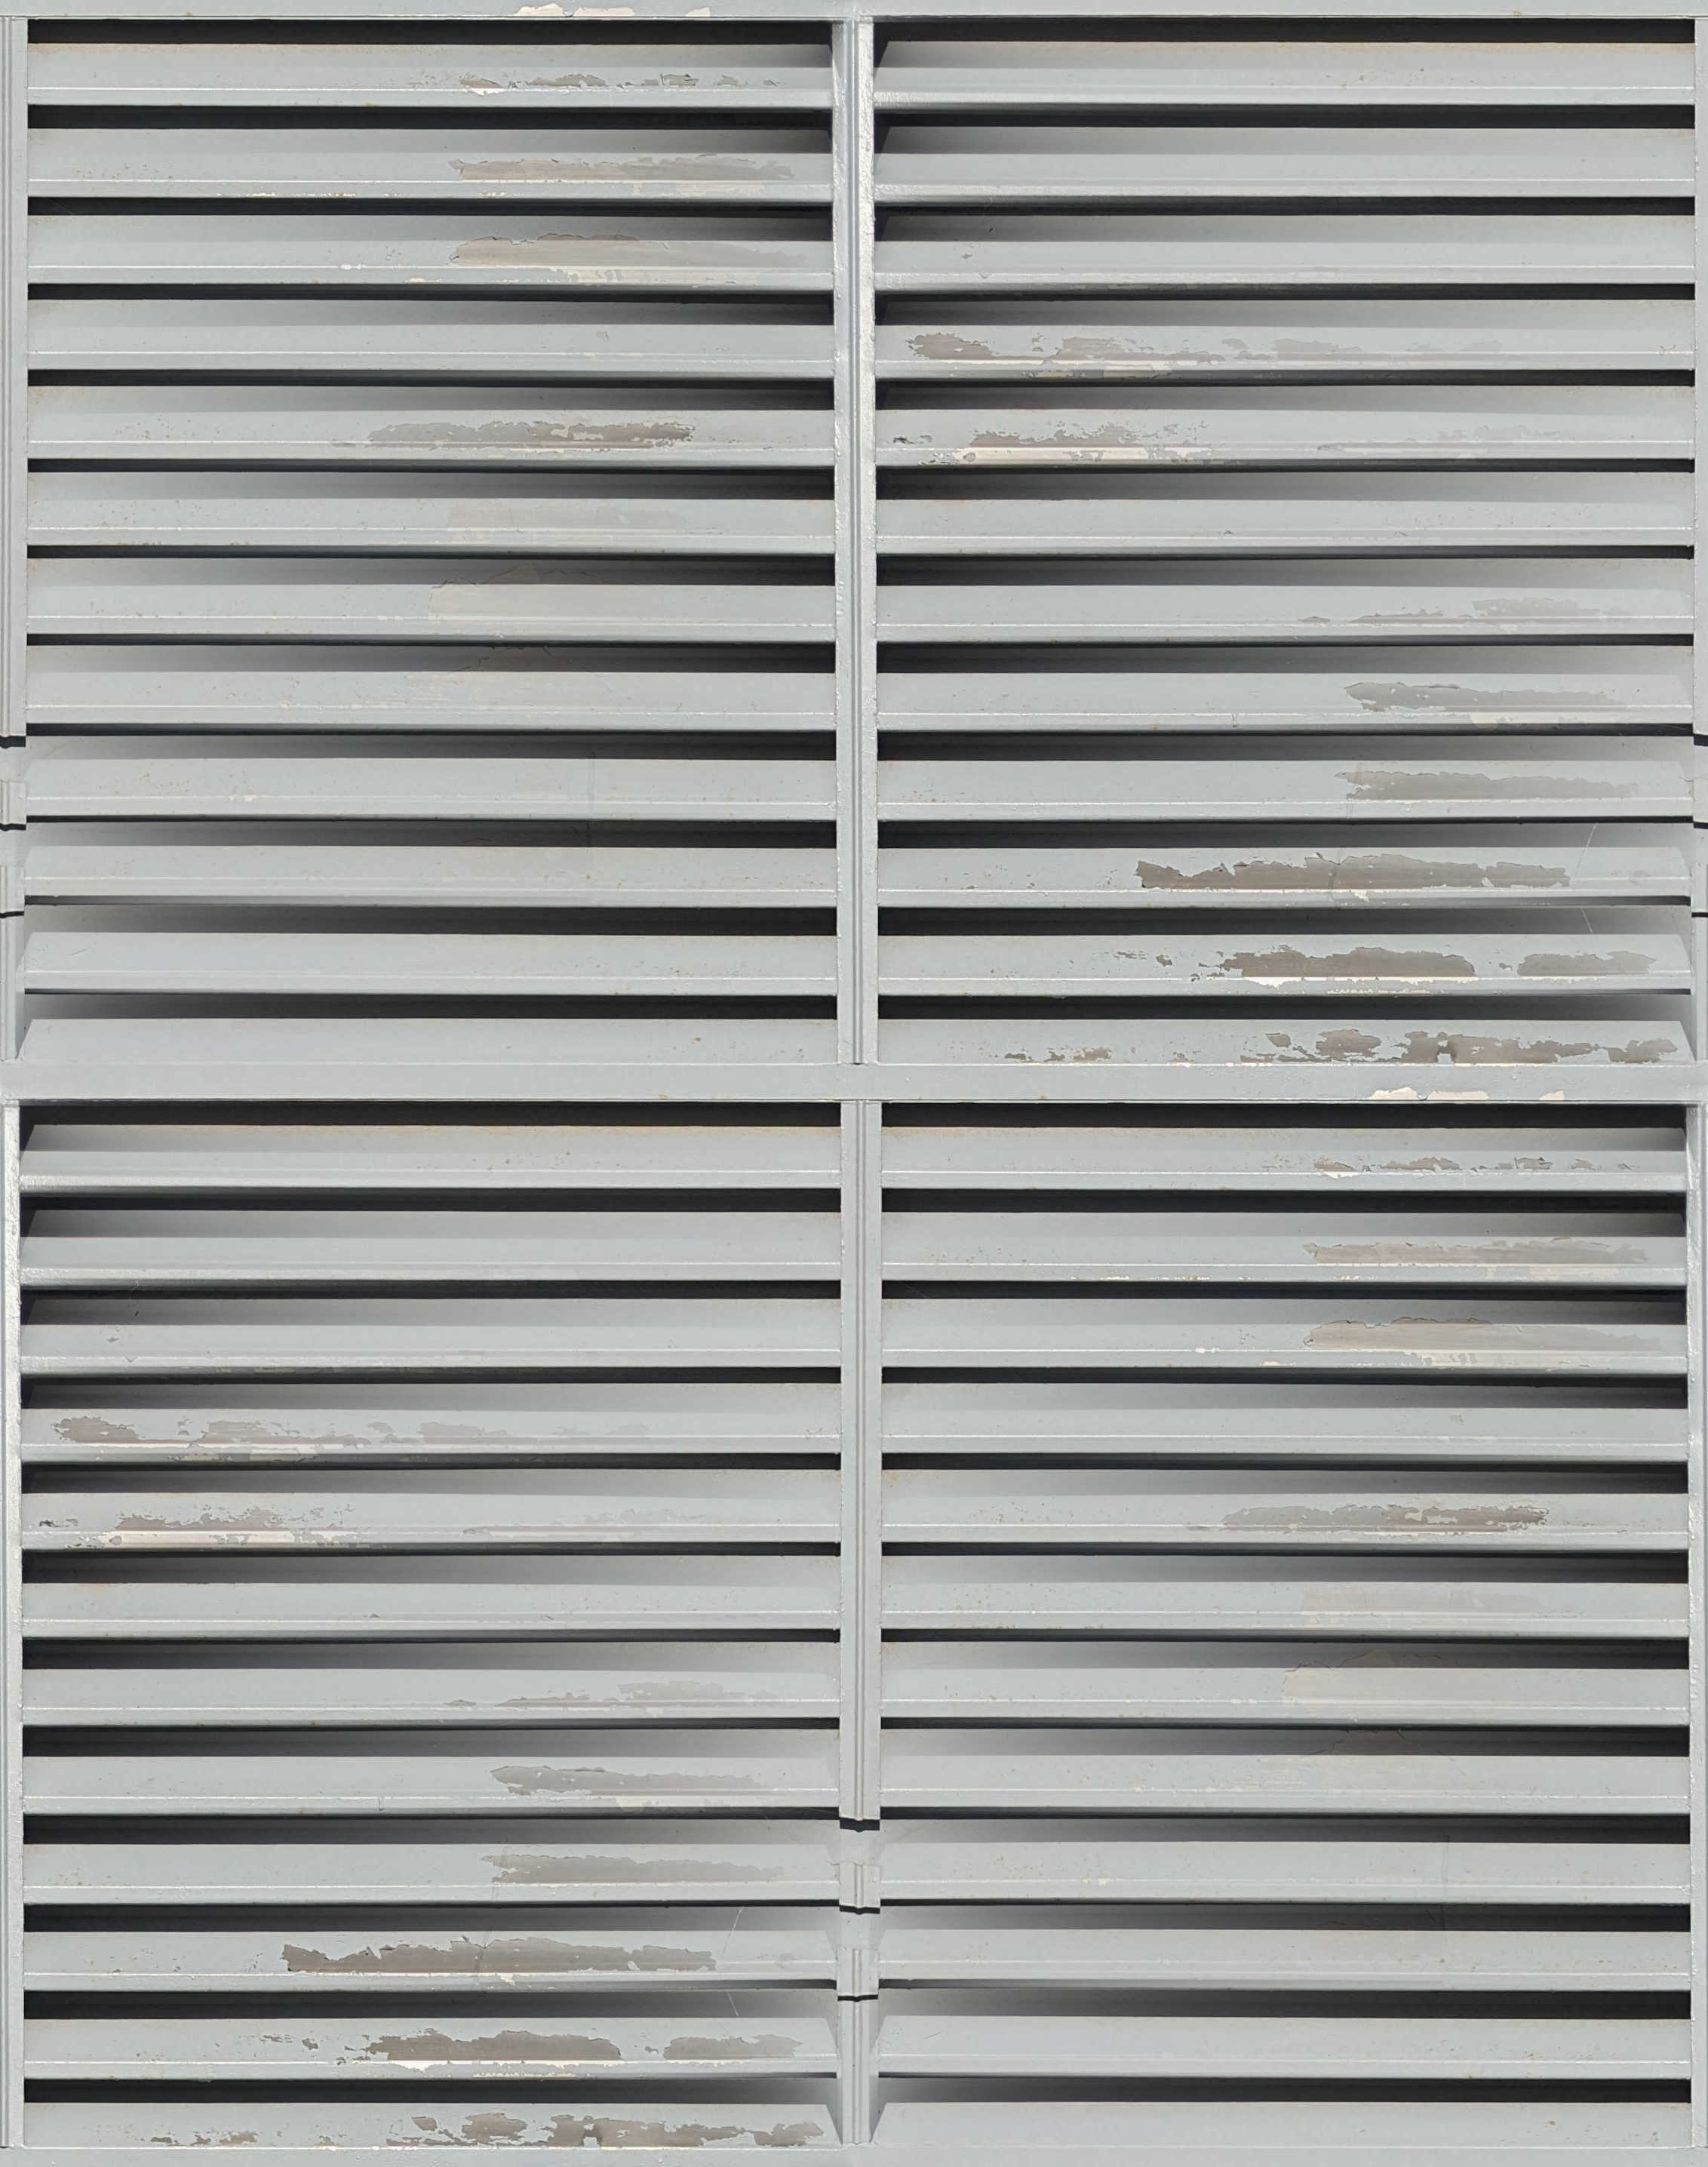
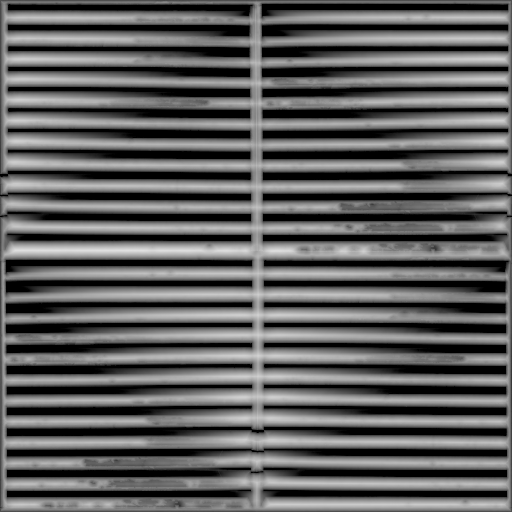
For demonstration purposes I am going to be doing this using the following picture I took of a metal slatted door.
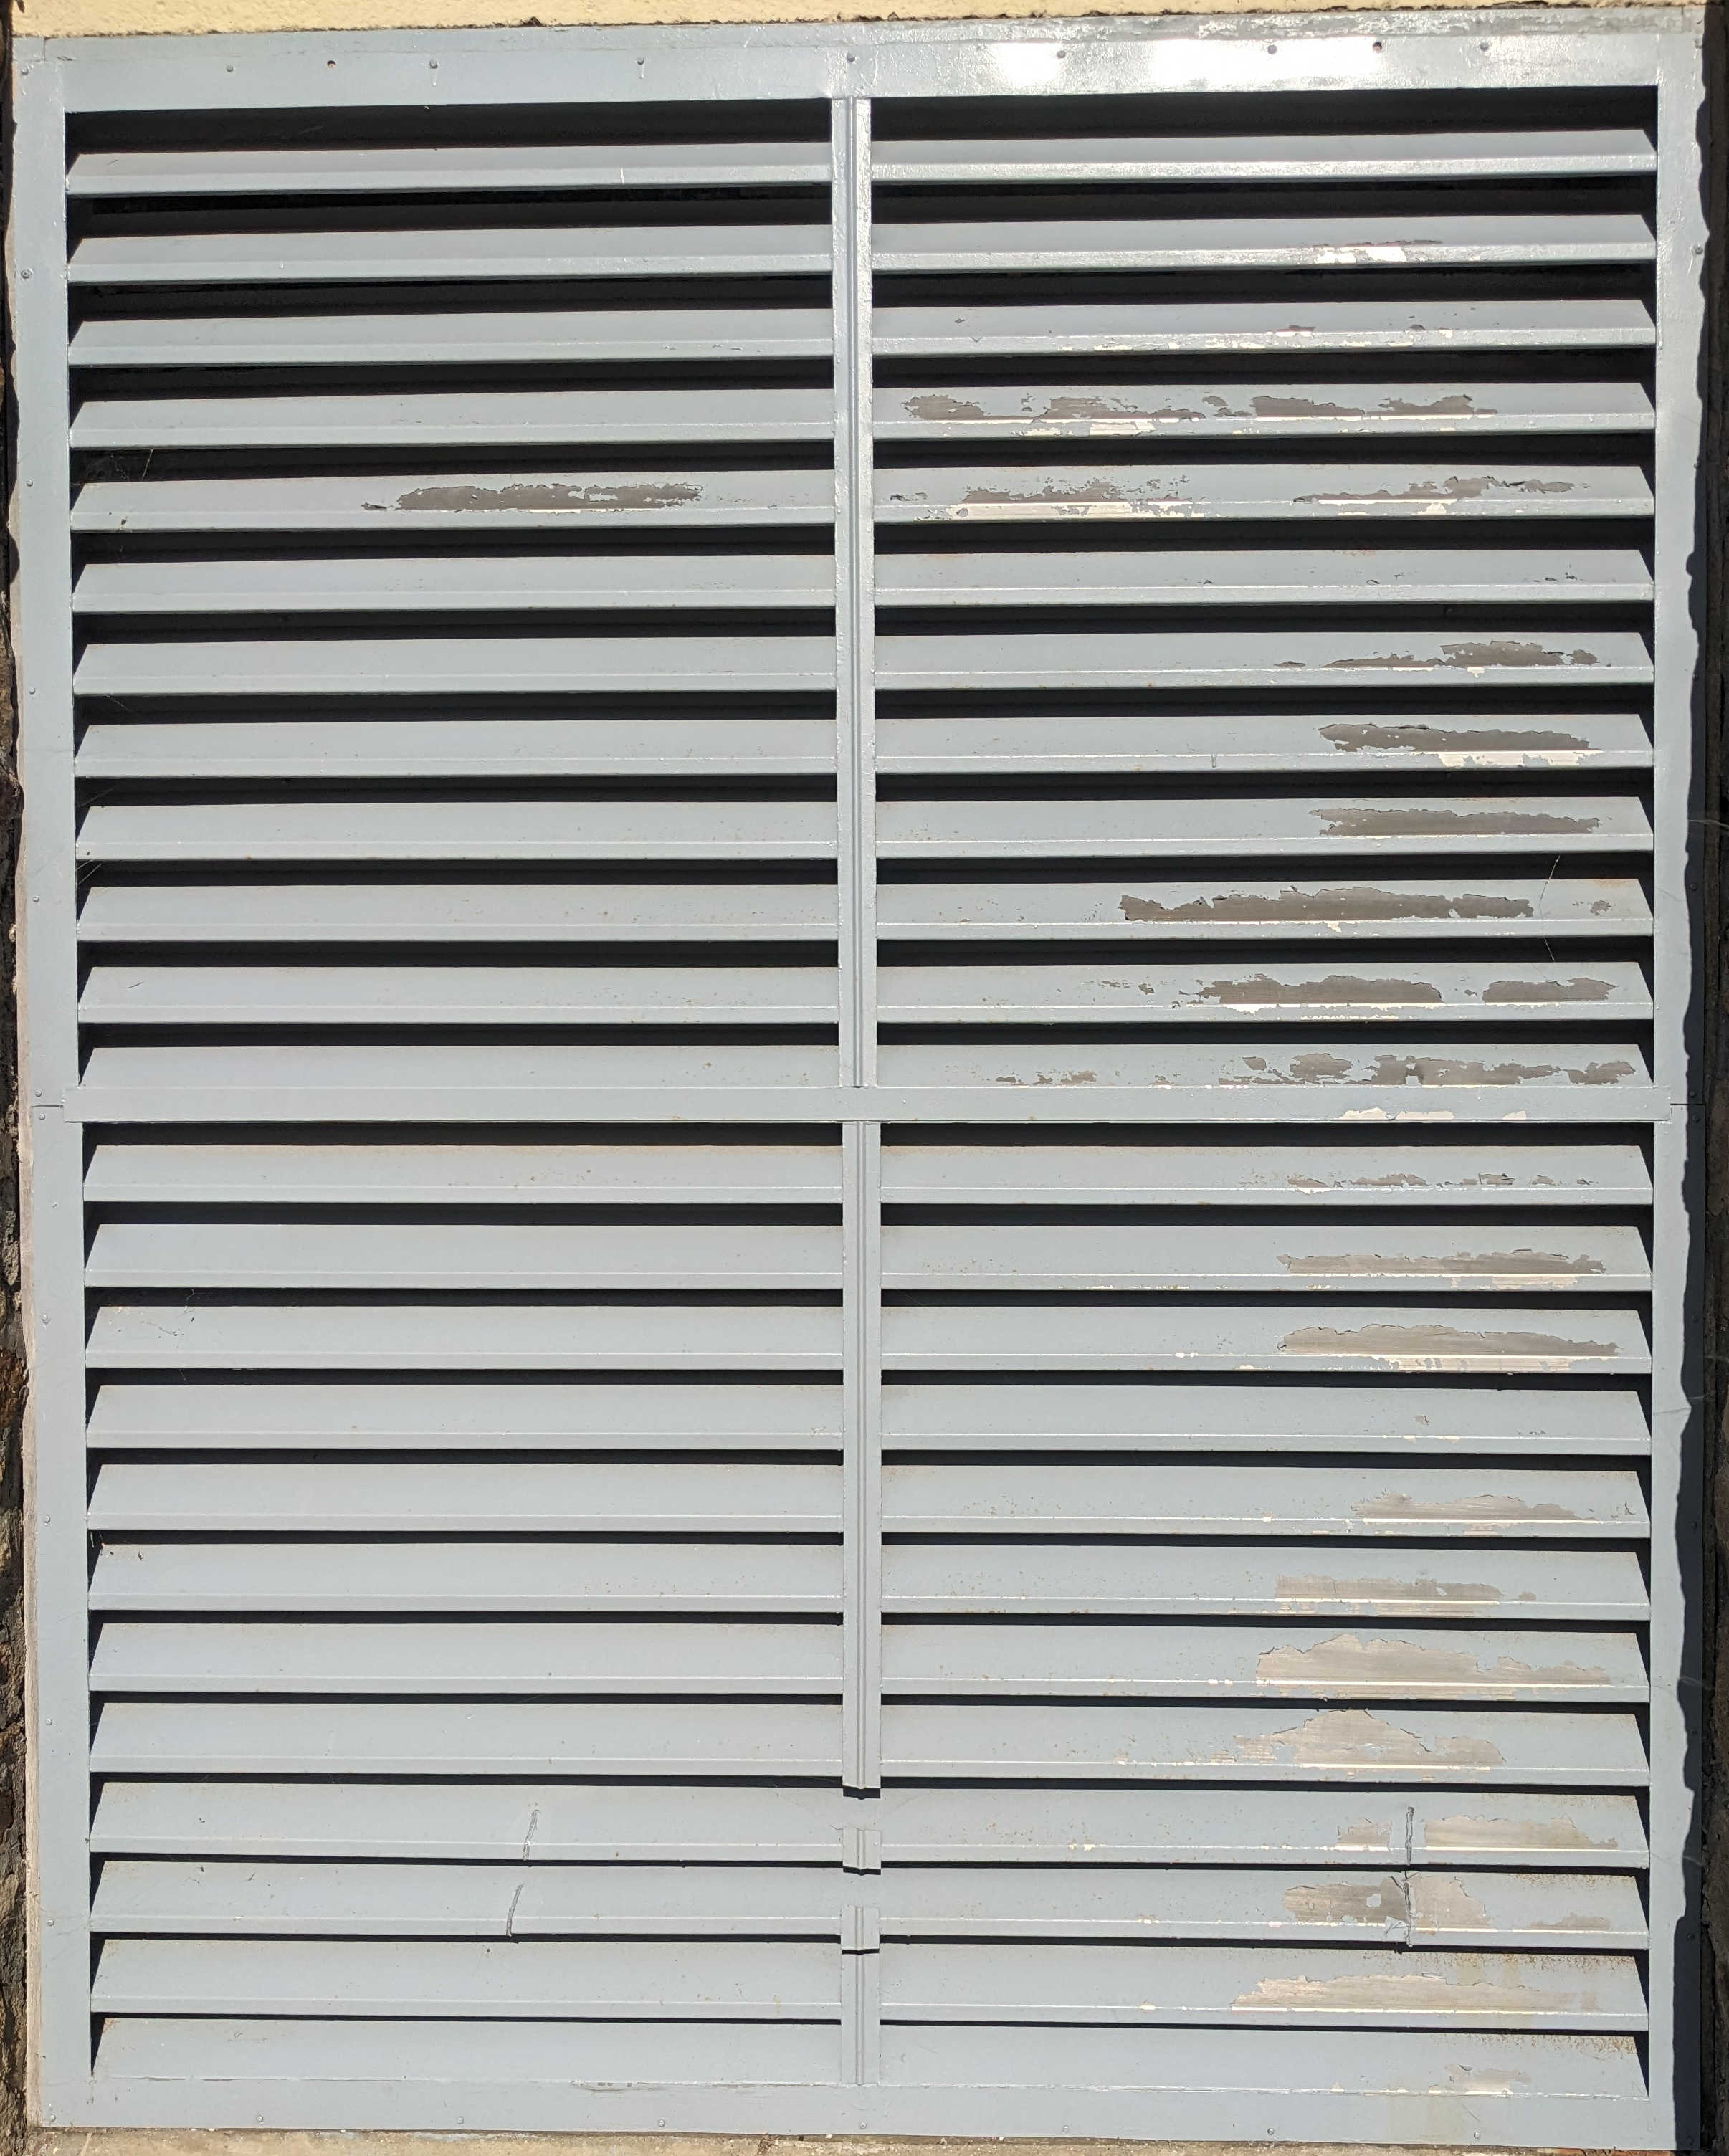
As a start it can help to first trim down the bulk of the image, to just the usable part. A good way of doing this is to use the ‘Rectangle Select Tool’ which, as of writing this, has the default shortcut of ‘R’ key, then select ‘Image’ -> ‘Crop to Selection’.
With human precision; a surface is unlikely to be perfectly square with the frame, so it can be very useful to create guides on the bounds you want the shape to fill, you can create these by dragging from the size displaying rulers at the top and left edges of the viewport. The guides can later be moved and removed with the ‘Move’ tool, which has the hotkey of ‘M’.
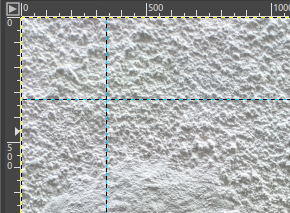
Now, with the guides in place, we can now make use of the perspective transform tool, found ‘Tools’ -> ‘Transform Tools’ -> ‘Perspective’ or via the hotkey Shift+’P’. With this tool you can now drag the corners of the image such that the edges of the surface align with the guides.
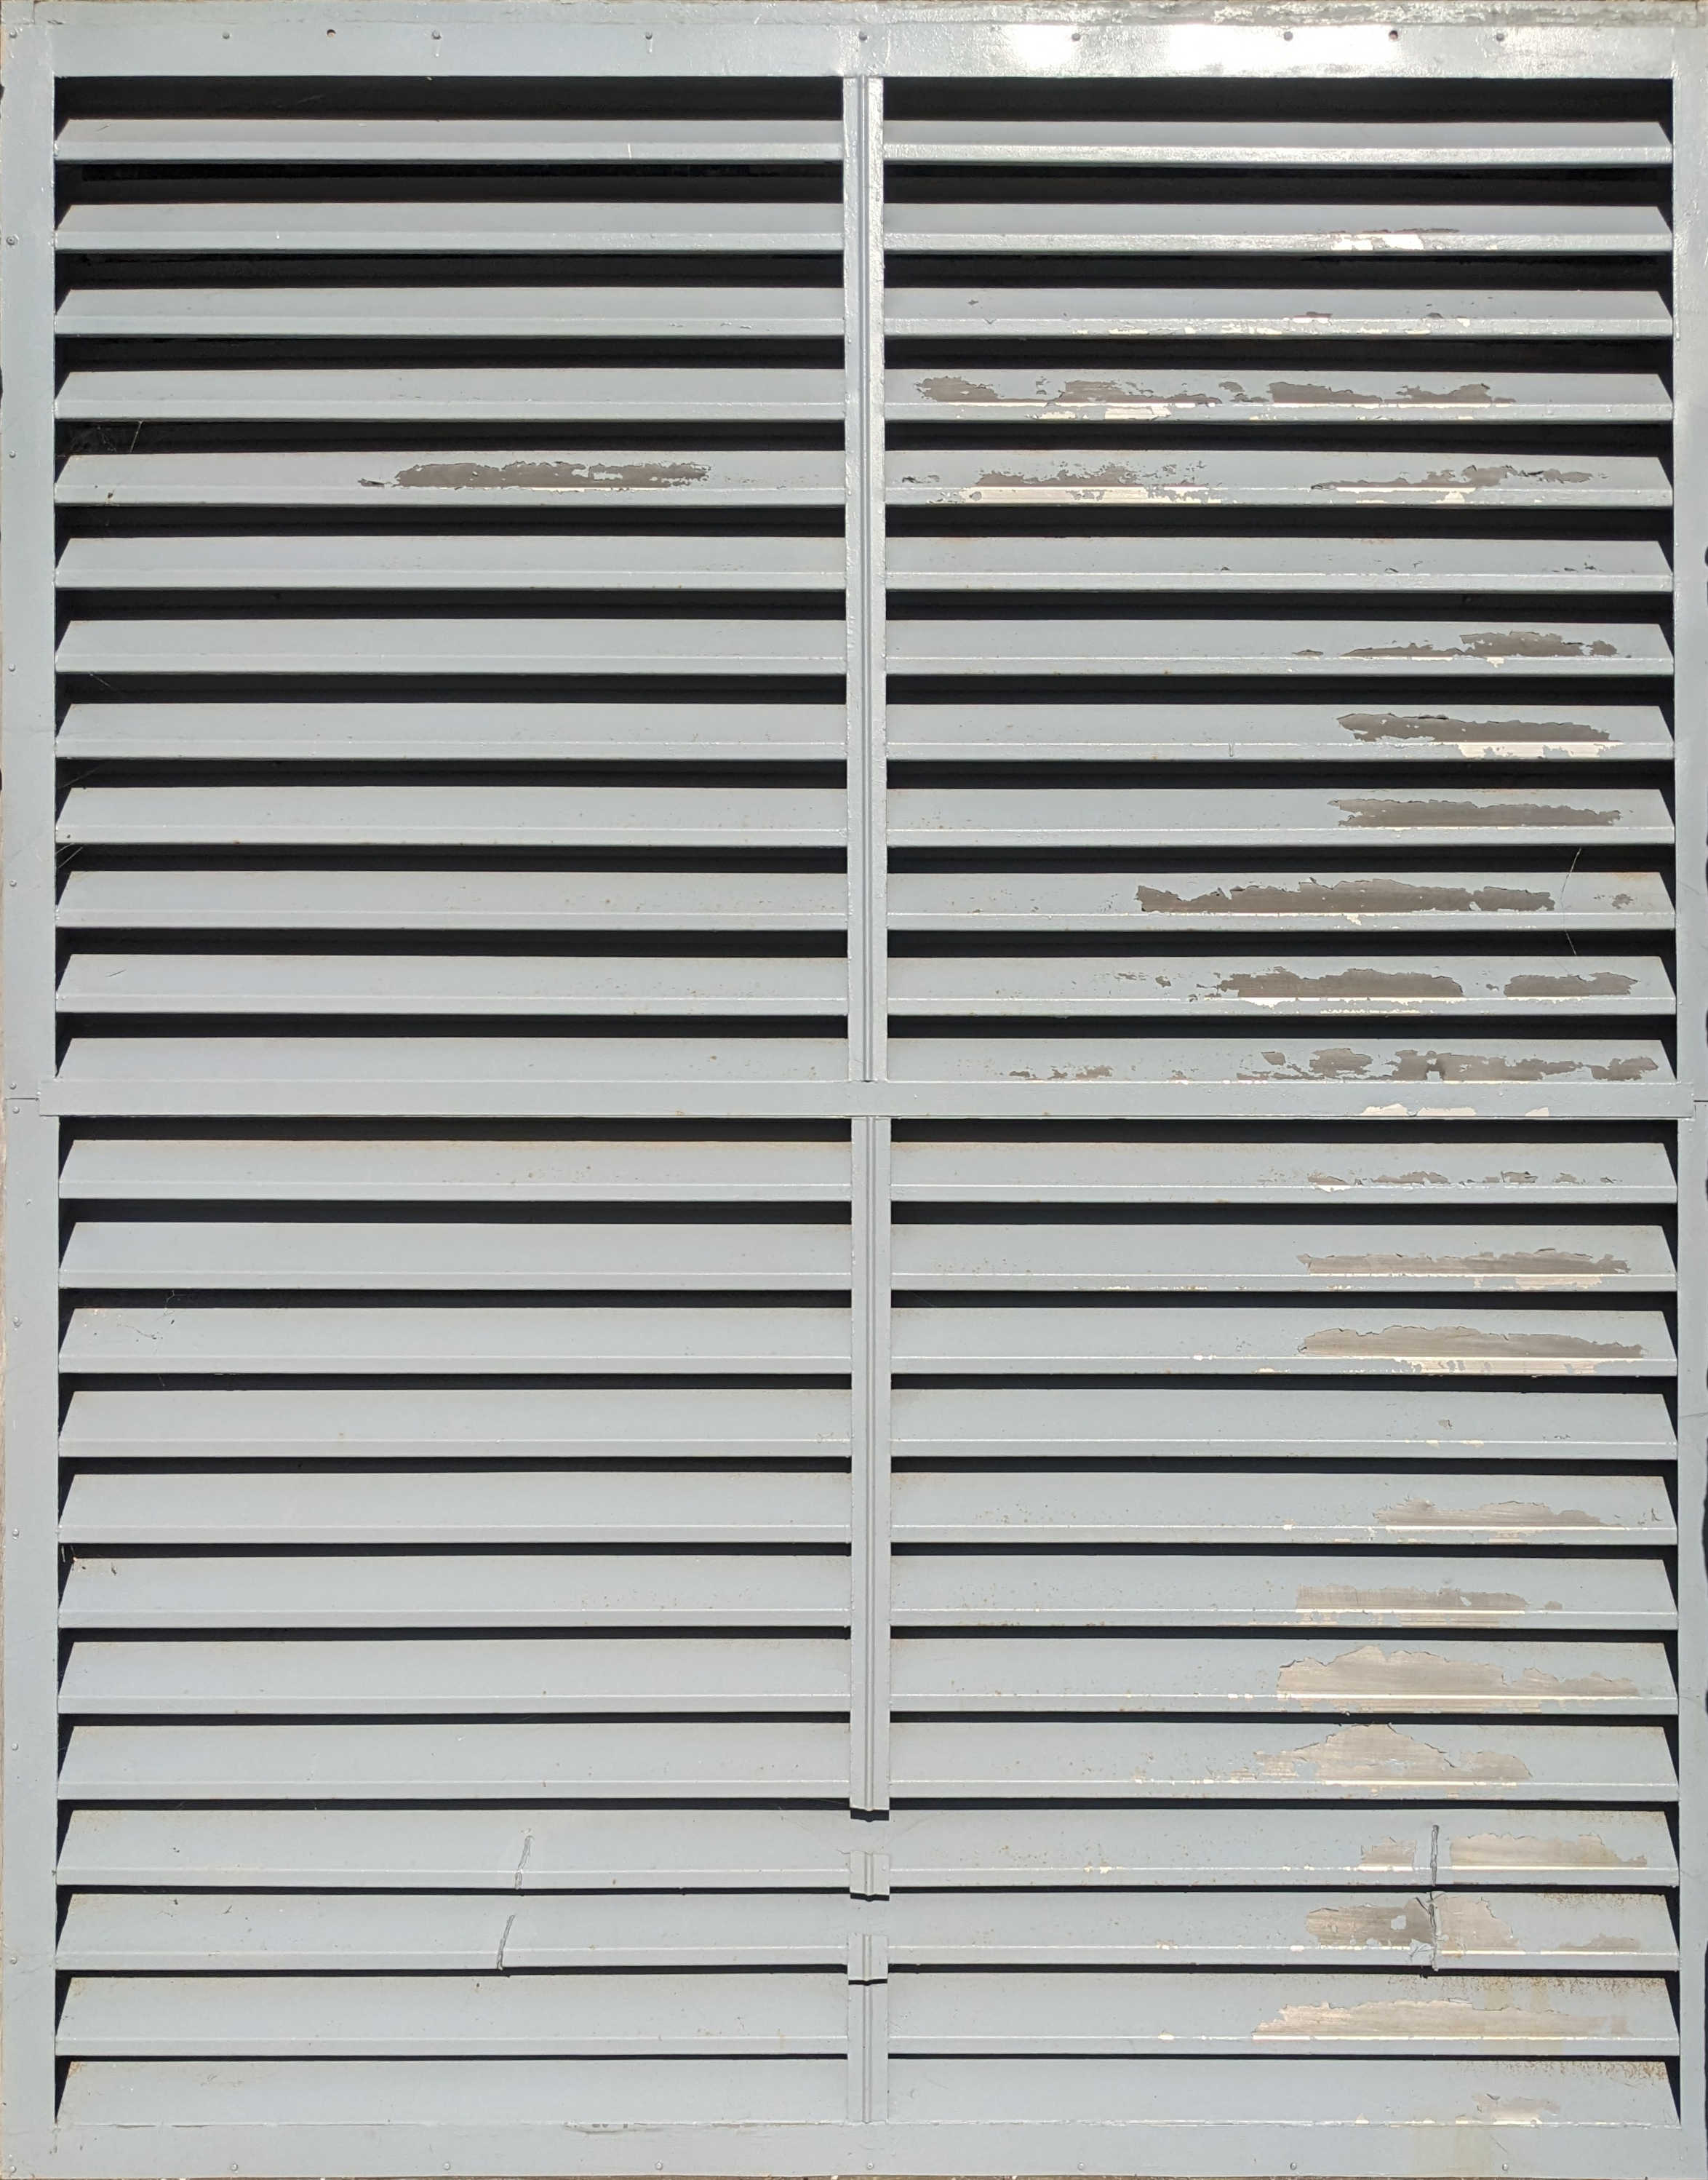
At this point it may be appropriate to crop the content again to the shape of the texture proper this time. This may especially be the case if the type of surface has some precision that means that it could be obviously misaligned. So it may take some adjustments for the tiling process to loop and line up properly.
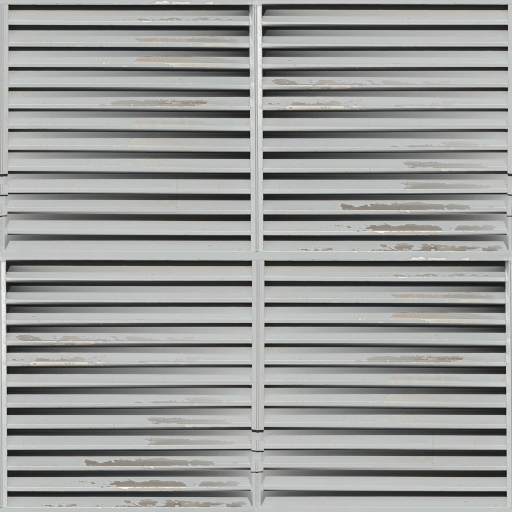
To eliminate what would currently be fairly obvious seams at the edges of the image we can use the following ‘Filters’ -> ‘Map’ -> ‘Tile Seamless…’ standard setting should be fine but it doesn’t hurt to prod around the options while you have the chance.
Optionally, now would be a good time to get your texture to the dimensions you want, generally GPUs can most efficiently handle textures that are square and which have pixel dimensions that are a power of 2, e.g. 32, 64, 128, 256, 512, 1024. To change the size right click on the layer and select “Scale Layer…”, and it is preferable to make the image smaller than larger.
Now that we have the texture in a usable form we can now create the different useful maps for the texture. First you should duplicate the layer for each of the maps, this can be done by right clicking on the layer and selecting ‘Duplicate Layer’.
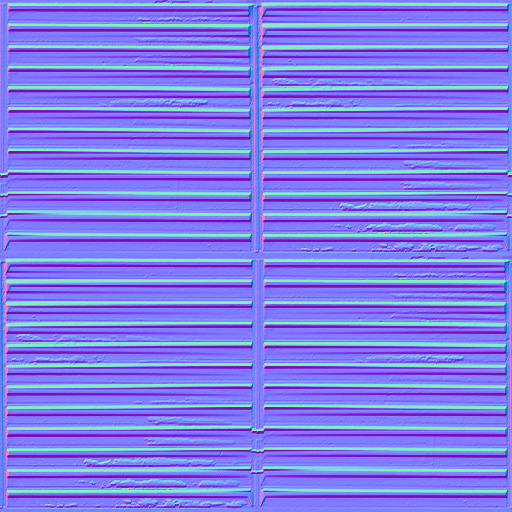
One is the normal map, which can be generated if we go to ‘Filters’ -> ‘Generic’ -> ‘Normal Map…’. Once selected; you can adjust these settings but generally the only thing that you should need to do is enable the ‘Tileable’ option.
The other one we can create is the distance map. With its own layer select ‘Filters’ -> ‘Generic’ -> ‘Distance Map…’. I have found that you will most likely need to dial in the settings to get it looking good.
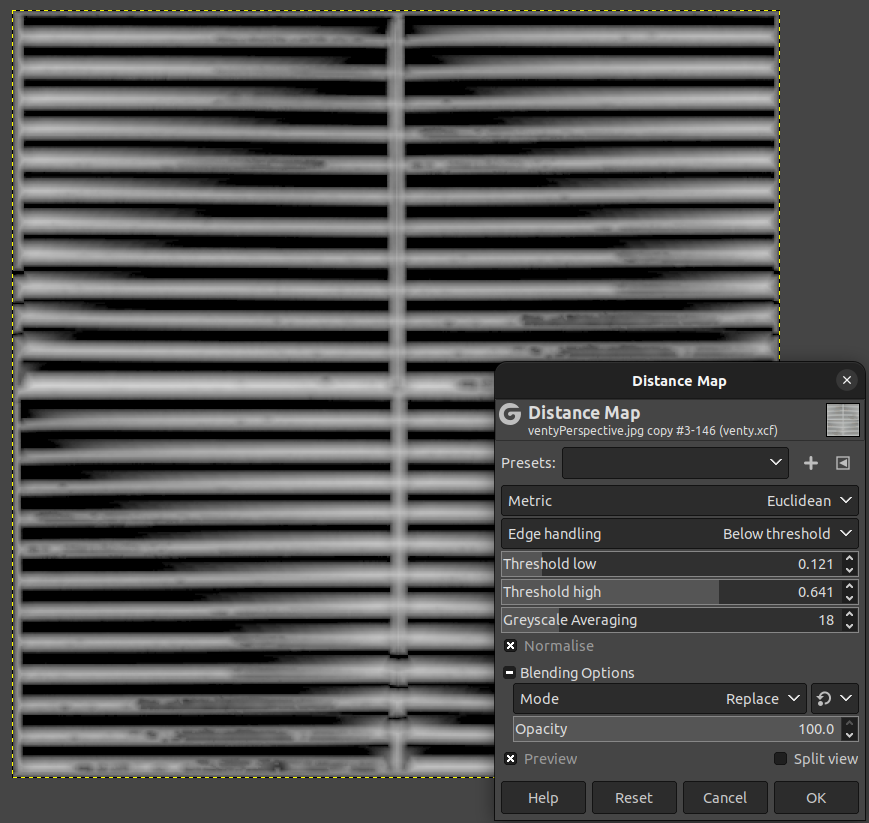
I find that the main thing you need to do is increase the ‘Greyscale Averaging’ but tweaking the thresholds can also give you some mileage.
These are certainly not perfect, but are more than serviceable for the speed at which you can do this.